1963-1979 Smart Strut Instructions
SS-01K.2

STEP 1
With car on jack stands, clamp a pair of heavy vice grips to the steel spring. If you have a fiberglass spring, clamp the vice grips on the end of the spring where the metal clamp is. This will prevent the floor jack from sliding when you jack it up. Remove one side at a time.
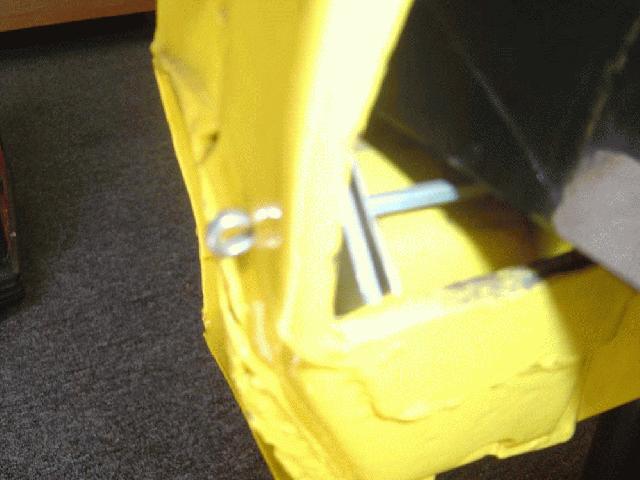
STEP 2
Remove camber bolts from the stock strut rod bracket. Once the camber bolts are out, you can remove the stock bracket and keep your existing hardware.
STEP 3
Remove the shock mounts. If your shock mounts are frozen, we recommend using our shock mount remover. PT# SM-01
STEP 4
Install the new Smart Strut Bracket w/your existing 3/8-16 bolts (torque to 35 ft lbs). Set your adjustable strut rods to the length of the stock ones until you get your car aligned.
STEP 5
Put the inner part of the rods in the bracket. For poly rod ends, you’ll need to also use the reducer washers between the bushing and the bracket. Heim style rod ends will have the correct ID for the 1/2 hardware. Torque the 1/2″ inner hardware bolts to 90 ft lbs.
STEP 6
Install the adjustable strut rods on the bearing assembly side. (We also recommend using anti-seize on your shock mounts and camber bolts where the bushing will sit.) Reinstall the spring reversing STEP 1.
Torque Specs: Shock mount, shock = 40 ft lbs. Do not over tighten bearing support bolt. Torque until lock-washer is flat. Over tightening can snap the bearing support leg.
STEP 7
Roll car back and forth several times to settle suspension and re-adjust strut rods to desired camber. A good starting point is 1/2 degree negative. Each turn of the strut rod equals about 1/2 degree of camber change. Car MUST be re-aligned by a professional.
Strut Rod Bracket Hole Settings:

Racing – Highest Setting: 1/2 – 3/4 degree camber gain for each 1 inch of hub travel.
Street – Center Setting: 1/4 degree camber gain for each 1 inch of hub travel.
Drag Racing – Lowest Setting: greatly reduced camber gain for straight line traction
There is no specific angle the rods need to be at because it will be different for everyone. Just like setting up toe in the car, it’s based on a few things. Ride height and the angle of the half shafts. The bracket alone reduced the camber curve because it repositions the inboard pivot for improved camber control. The angle of the rod is predicated on ride height and the final camber setting.